Redstone Tutorial: 2x2 flush piston door
In this first tutorial, I will be showing how to make one of the simplest piston doors out there: the 2x2 flush piston door. Fast speed and compact, while being low in resources, this piston door is quite a useful thing to know how to make.
Step 1: Materials
While it doesn’t use that many resources for a piston door, it still uses a few, and it is good to make sure you have enough materials.
This is all of the materials needed to make the mechanism itself. However, I recommend also carrying torches, and more redstone and building blocks. This is to allow you to mob-proof the area the redstone is placed, and to make a redstone line to the activation device. You also can have a different kind of building block, but for this example I will be using stone.
Step 2: Creating the path
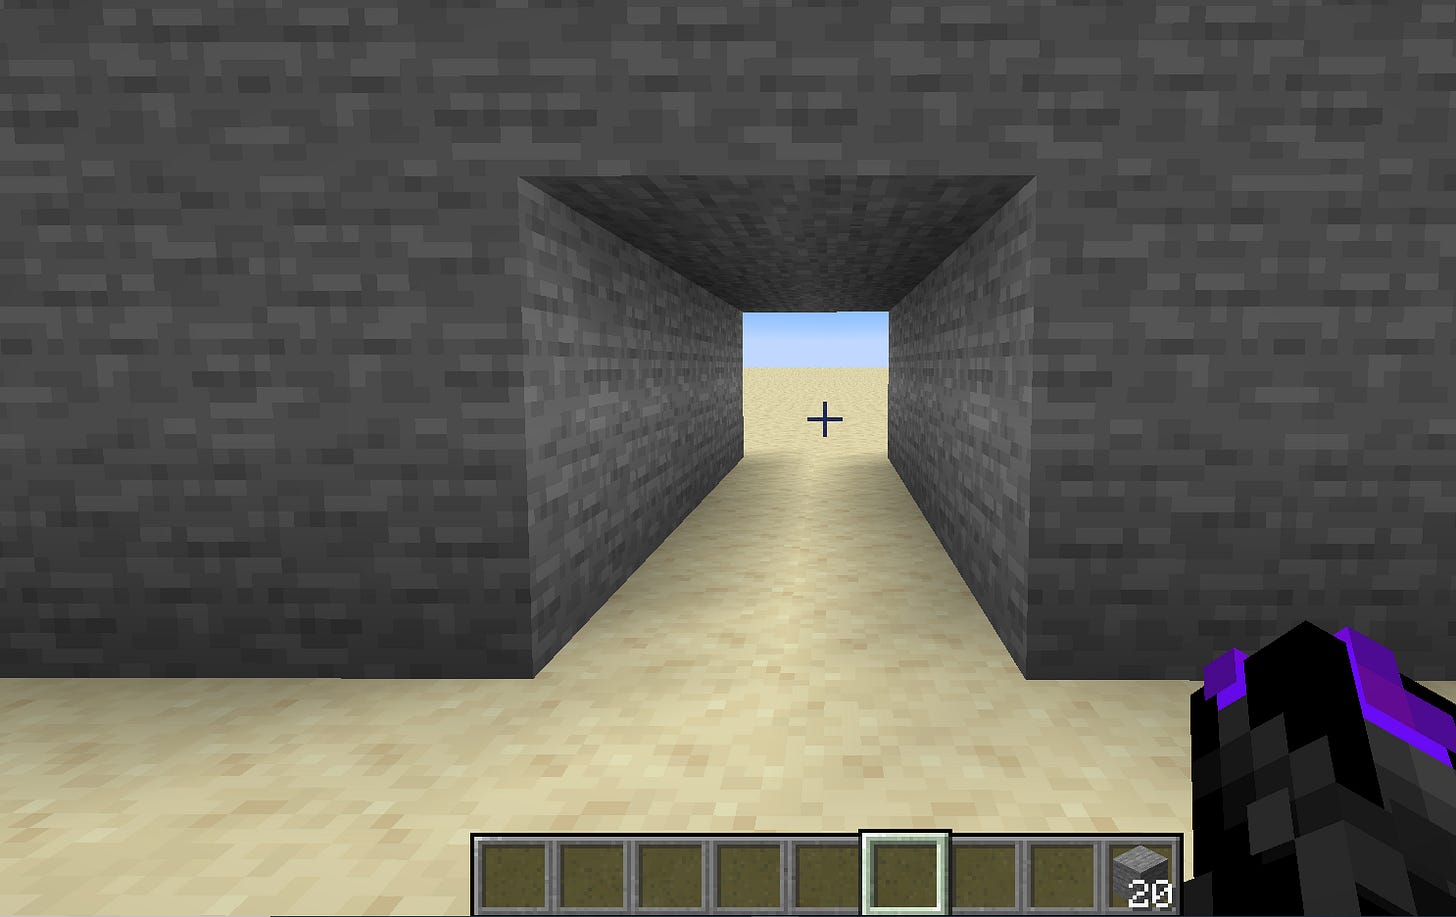
Mine out a 2x2 tunnel where you want your door to be. (If building above ground, try to work around these steps)
Step 3: Setting up piston placement
Mine out a 2x2 hole 2 deep one block after the first layer on both sides, where you want your door.
Step 4: Placing sticky pistons pt.1
For this step, place sticky pistons on the 2nd layer of the 2x2 hole you made in step 3. Repeat on both sides.
Step 5: Placing sticky pistons pt. 2, placing wall blocks
What you want to do here is place sticky pistons facing forwards where you want the door to be, in the divot made in step 3. Next, place your wall blocks next to the pistons, so the sticky side is pressing into the wall block.
Step 6: Outline of redstone
Clear out an area above the pistons and then place building blocks on top of each sticky piston. Then connect them to form a C-shape.
Step 7: Placing down redstone
Place redstone across the entire C-shape, then break the block right before the hooks of the C. Replace with redstone repeaters facing towards the hooks, and left click twice to add ticks. If you are having trouble with the door, double check the direction of the repeaters and if it is set to 2 ticks.
Step 8: Activation
Ok, you completed all of the major wiring. All you have to do now is hook it up to an output device. There are many ways to do it, but the simplest way is to place a redstone dust in the middle of the C-shape, going into the wall. Then just place a lever on the other side and you are done!
Step 9: Decorate! (Optional)
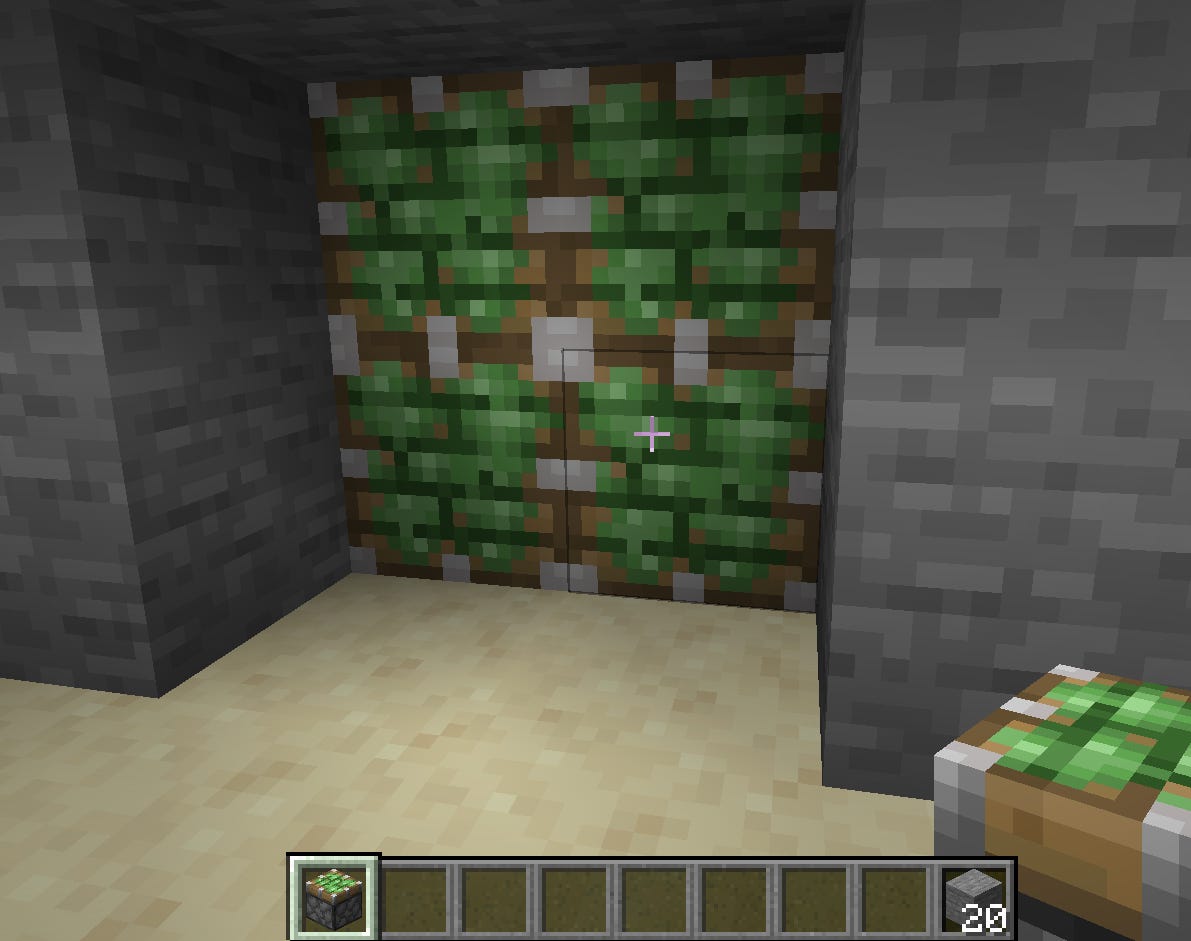
If you want, you can spruce up the entrance a bit to make it look better! Just make sure the lever stays in the same spot and when you are ready, flip the switch! If you have followed all of the directions correctly, it should open almost instantly!
I hope you enjoyed this tutorial! If you have any problems with it, go through the steps to make sure everything is correct, or leave a comment down below. If you don’t mind, me and my production team spend a long time working on these posts, so consider leaving a like or subscribing! Have a fantastic day!


